The importance of visuals in eCommerce
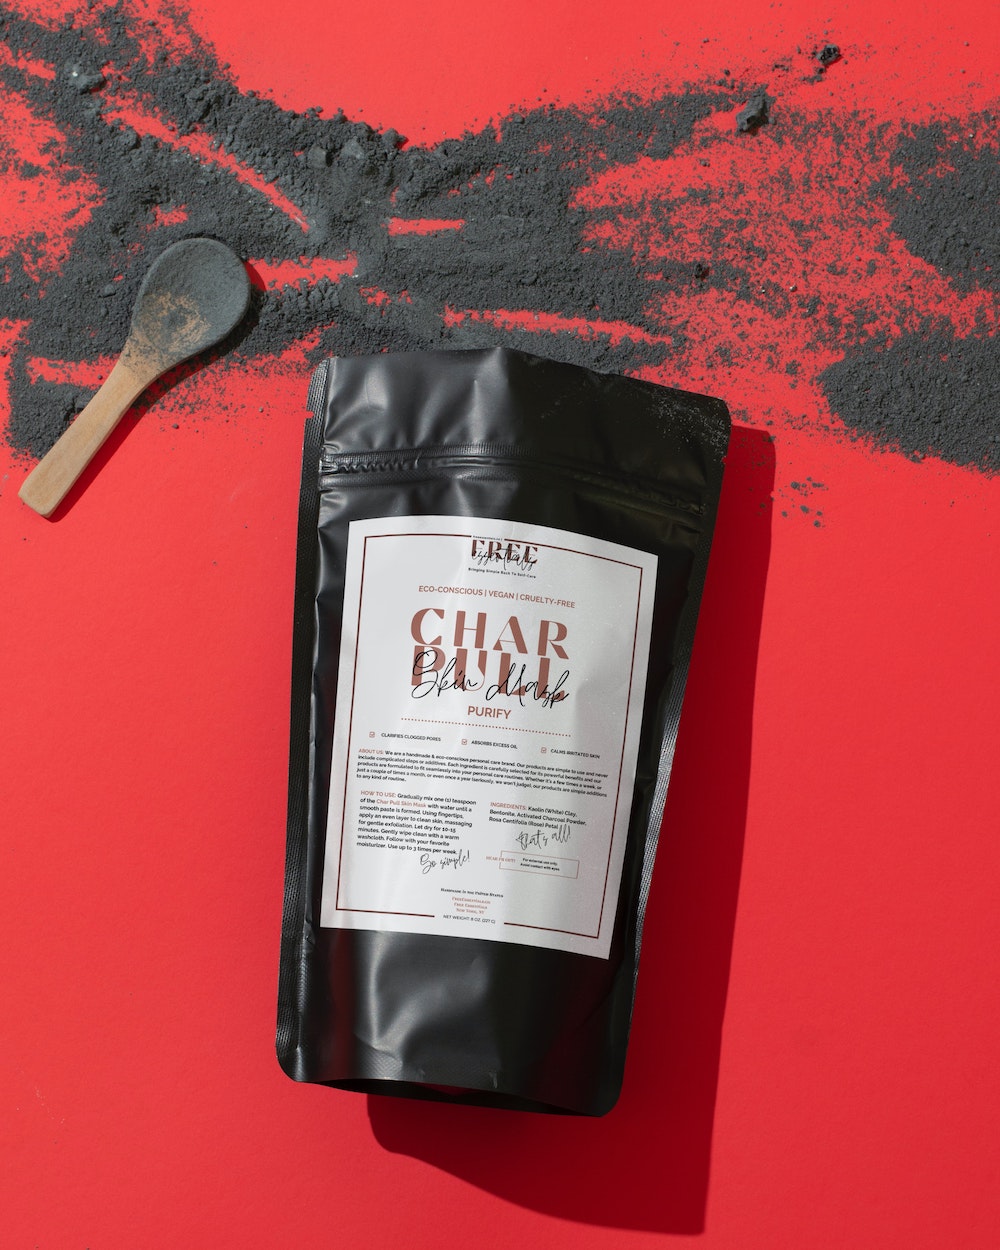
Product images play a vital role in selling a product. Since your customer can’t touch or try your product in person, your images need to be compelling enough to still convince them to buy from your store. Bright, high-quality, eye-catching product photos add so much more value to your product page by being attractive and detailed.
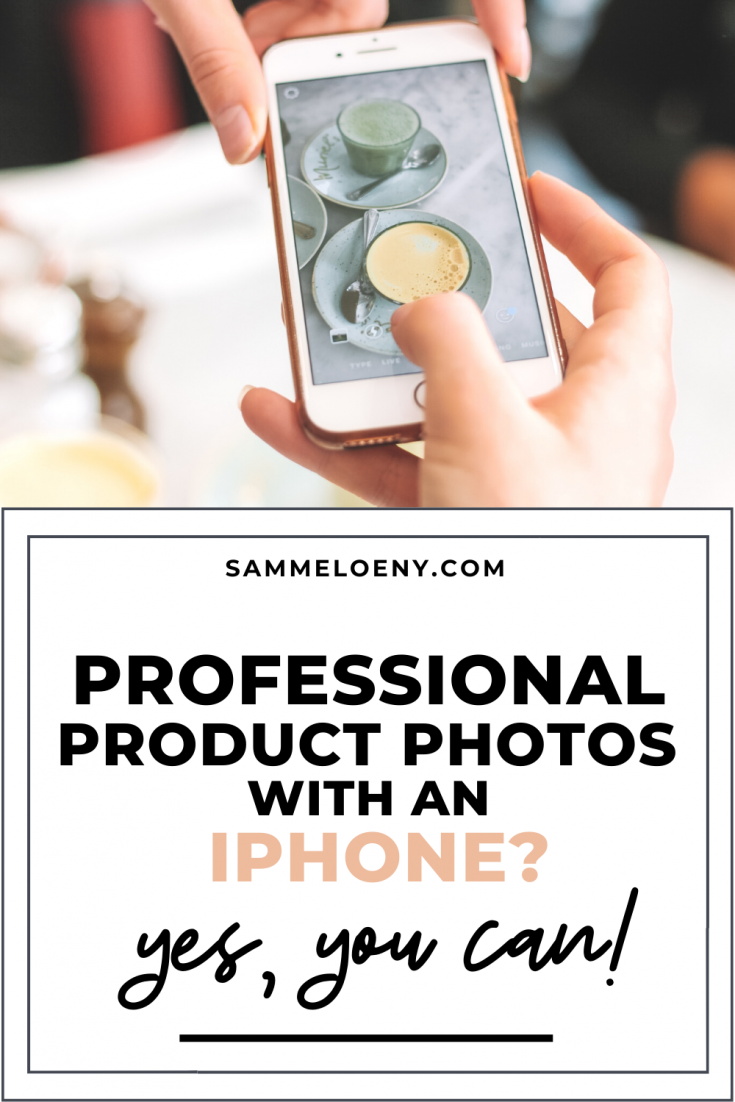
It’s not a secret that professional product photos can drive enormous sales, but if you are on a budget and can’t afford to hire a professional product photographer you might need to take the photos yourself. And it’s actually possible to take beautiful photos with an iPhone and a photo editing app. DIY product photography provides a great alternative as long as you know the proper tools and techniques.
Here’s everything you need to know on how to take product photos at home with an iPhone.
Photos from manufacturers
Do NOT use photos from your supplier even though they might be high quality. Many websites use the same pictures and with a simple image search, a customer could find and buy from your competitor’s website instead of yours.
Getting the right equipment
You will need a few items to be able to take good product photos. Here’s a list of the things you need:
- An iPhone 8 or newer
- Wireless remote
- White background
- A tripod
- A surface to set your product on (platform, table, mannequin, etc.)
- A source of natural light (window!)
- Bounce card or white foam board
- Any photo editing app of your choice
How to take great product pics at home
Now that you’ve got your materials gathered, it’s time to set up your studio and get everything in place.
Ready to learn all about taking product photos on your phone? Let’s get started!
Prep your products
First off, get your products ready. Prepping your products makes all the difference when taking professional-looking product photos on your iPhone.
Before you get ready to shoot, make sure to do the following:
- Clean the product to make sure no smudges, dust, or debris are visible
- Remove any excess labeling and packaging from the product
- If you’re shooting clothing or apparel, make sure to remove wrinkles and creases
- While you’re at it, make sure to clean the lens of your iPhone camera to keep your shots crisp and clear!
Adjust Your Lighting
Find a place with natural light. Soft, diffused light is best for shooting product images. Being closer to the window will create a softer light with darker, softer shadows. Being further away will give a more even light but with sharper, lighter shadows. If you’re still struggling with heavy shadows, invest in a bounce card to reflect light evenly on all sides of your product. A white foam board from a craft supply store will also work nicely!
If you’re shooting at night or in a room where natural light is limited, you can use artificial light. It can be challenging to get the results you want when using artificial light so if you know you’re going this route, it’s probably a good idea to invest in some lighting equipment, such as a light tent or softbox kit. Amazon has a ton of options for all price ranges, like this handy tabletop photo tent set-up for $17!
There are some fairly affordable options available like this pop-up shooting tent and this softbox photography lighting kit.
To keep the same style for all your product photos, it’s best to stick to one type of lighting.
Keep a clean backdrop
Want to take great product photos with just your iPhone? Then let’s create a clean backdrop that only focuses on your product and nothing else.
A clean background highlights your product while a cluttered, messy, or busy background draws attention away from your product. We want your product to be in focus!
If your product pictures are taken for your eCommerce store’s website, then a white background is the best choice. This will keep your website clean and clutter-free, and easy for your visitors to browse through the products without getting distracted.
There are lots of options for a white background, but a white sweep is a simple way to get the white look for cheap. Remember to look for pure white, as off-white or cream will be more difficult to make pure white. Here’s a great white backdrop from Amazon, for only $25.
If you’re shooting product images for social media, advertising, or banners on your website, you can choose to create a different color backdrop. Whatever matches with your brand colors and style. Just continue to keep it clean with not too much distraction.

Use a tripod
Using a tripod is gonna make things easier. A tripod keeps your camera perfectly still, so your image is more likely to be clear and in focus.
Because you will be taking photos from different angles, you will need to set your tripod up in consistent positions for each angle you shoot. Mark your tripod positions so that you can set it up the exactly same way each time.
It’s really important that the angles and shooting distances are the same for all your products so you can keep a consistent flow on your website. It’s also much easier for your customers to be able to compare the products.
There are plenty of budget-friendly options available so a tripod is well worth the investment.
If you shoot mostly small items, a tabletop or mini tripod will do. If you shoot larger items (i.e. furniture) you might want a full-size tripod. Make sure the one you buy either comes with or is compatible with, a smartphone clip attachment.
Here’s a good tabletop tripod for smartphones that also includes a bluetooth remote.
Wireless Remote
Every time your hand taps the screen to snap a photo, you run the risk of shaking the camera while it’s capturing the image. Even a small movement can make a big difference in the quality and sharpness of the photo and result in losing important detail of your product. Wireless remotes are inexpensive (like this bluetooth remote for only $7) and can easily connect to your smartphone via Bluetooth.
Before you continue your DIY product photography session
Take a few photos and stop to look at the images so you can adjust BEFORE you take more photos.
Make sure your lighting, focus, exposure, and position all look right. Make adjustments as needed and take test photos until you’re happy with the settings, then fire away.
Take a variety of photos of the product to show as much detail as possible. Take photos of the front and back, the inside and outside, the top and bottom.
Editing
Almost done with your product photos! Once you’ve captured all the images you want with your iPhone, it’s time to edit.
Here are some of my favorite editing apps:
- LightRoom – for expert editing features on the go
- Be Funky – for resizing, blemish removal, and touch-ups
- Photoshop Fix – for removing unsightly parts of your photo
- Snapseed – for easy-to-use photo editing tools
- VSCO – for lighting and color editing, as well as stylish filters and effects

Shopping list
Here’s the list of what you need again including prices and links to Amazon so you can buy them right away!
- An iPhone 8 or newer (hopefully you already have one or you can borrow someone else’s phone)
- Wireless remote $7
- White background $25
- A tripod $21
- A surface to set your product on (free!)
- A source of natural light (free!)
- Bounce card $35 or white foam board $20
- Any photo editing app of your choice
Did you learn a lot of valuable photography tips from this article? Would you believe there are even more tips and tricks packed into my membership program?
Join She’s Selling Online – the eCommerce membership for entrepreneurial women.


